
Multi-panel wall art, also known as split canvas art, is a popular way to create dramatic wall decor. Instead of one large image, the artwork is divided into several panels that hang side by side.
Here’s how you can easily create multi-panel wall art from a single image.
What Is Multi-Panel Wall Art?
Multi-panel art splits one image into multiple sections such as:
- Diptych (2 panels)
- Triptych (3 panels)
- Four-panel artwork
- Five-panel gallery layout
This style creates a modern and eye-catching wall display.
Step 1: Choose a High-Resolution Image
To split an image into panels, you must start with a high-resolution file.
Recommended:
- Minimum 4000–6000 pixels wide
This prevents loss of quality when dividing the image.
Step 2: Use an Image Editing Tool
You can split images using tools like:
- Photoshop
- GIMP
- Canva
- Online image splitters
Many free websites allow you to automatically divide an image into equal panels.
Step 3: Divide the Image into Panels
Decide how many panels you want.
Common layouts include:
3 panels
| Panel 1 | Panel 2 | Panel 3 |
5 panels
| P1 | P2 | P3 | P4 | P5 |
Each panel becomes a separate image file.
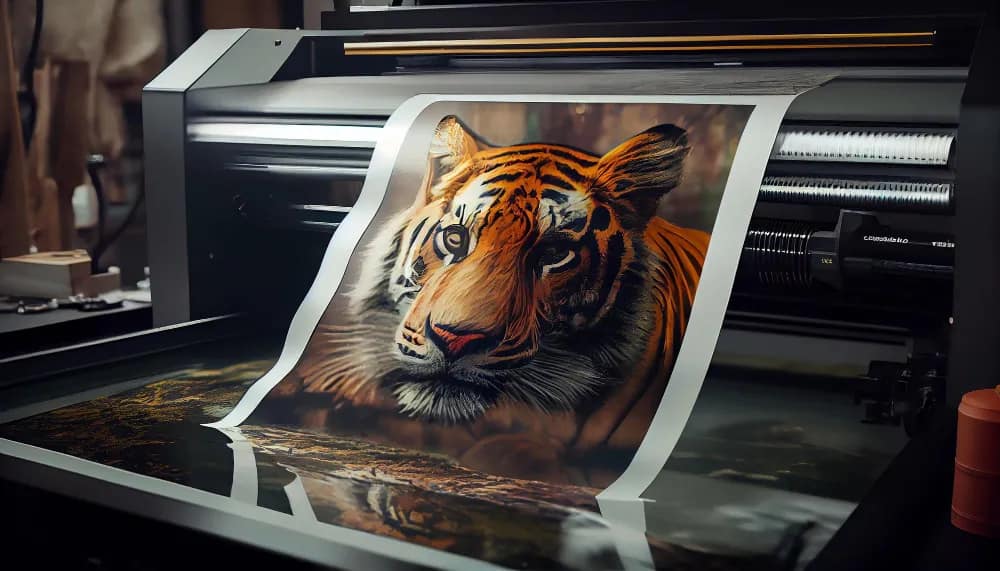
Step 4: Print Each Panel Separately
Print each section on separate paper sheets or poster prints.
You can use:
- Photo paper
- Canvas prints
- Poster paper
Make sure the sizes match so the panels align correctly.
Step 5: Hang the Panels on the Wall
When hanging multi-panel wall art:
- Leave 1–2 inches of spacing between panels
- Align the center panel first
- Use a level for straight placement
The result is a modern gallery-style wall display.